

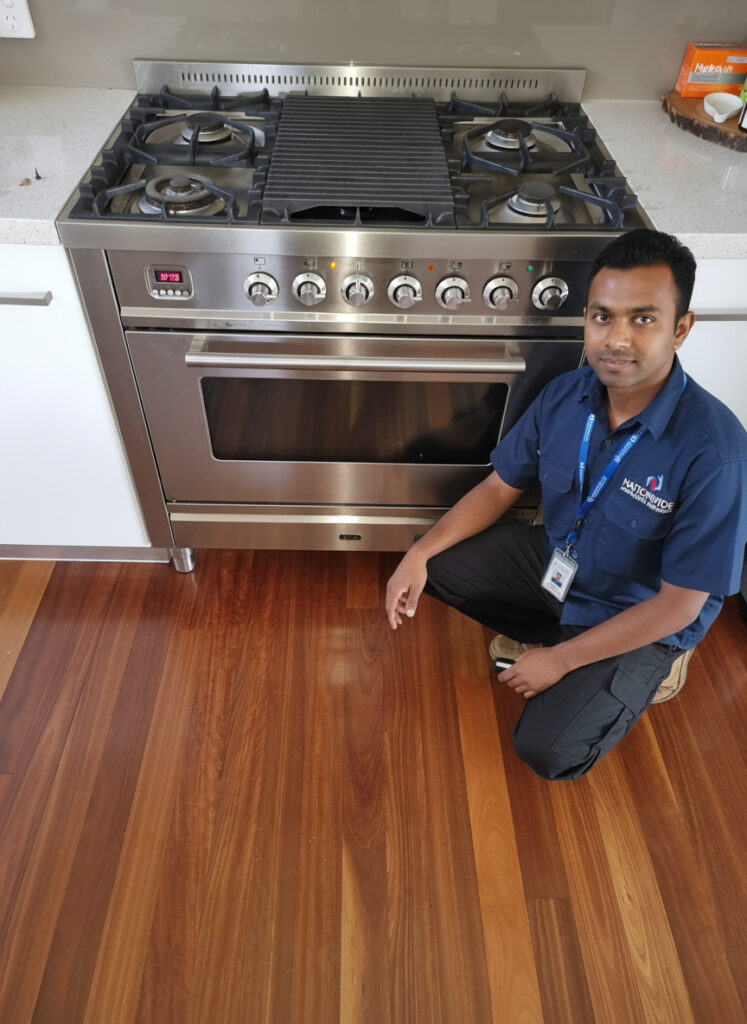
The best time to think about appliance repair is not the morning your fridge stops cooling or your washer floods the laundry. It is now, before anything breaks, while you can calmly work out what to do when it does. In a busy home, a broken machine is not just an inconvenience.
It throws off dinner, laundry, and everyone’s routine at once. A short appliance repair checklist you can lean on in the moment takes a lot of that panic out of the picture.
None of this is about becoming a technician overnight. It is about knowing the few sensible steps that either sort the problem quickly or stop a small fault from turning into a big, costly appliance repair.
Step One: Switch Off and Stay Safe
The first move on any appliance repair checklist is to stop using the machine. If it is sparking, leaking, smoking, or making a noise it has never made before, switch it off at the wall and disconnect it where it is safe to do so. Continuing to run a faulty appliance is the fastest way to turn one problem into two, and a bigger appliance repair bill along with it.
This matters most with anything involving water or heat. A dishwasher that is leaking or an oven that will not stop heating is not something to push through “just one more cycle.” Cutting the power protects the machine, your home, and you.
The same principle sits behind workplace rules on damaged electrical equipment, which call for unsafe items to be isolated straight away rather than left in use.
Step Two: Do the Simple Checks First
A surprising share of call-outs turn out to be something you could have handled in ten minutes, no technician needed at all. Before you assume the worst, run through the basics.
Check that the appliance is actually getting power and that no fuse or breaker has tripped. Look for the obvious culprits, a blocked filter, a kinked hose, a full drip tray, a door that is not latching. For a machine that will not drain, the filter and hose are the usual offenders, and a guide on a washing machine not draining walks through exactly what to clean and in what order.
Small appliances have their own quick fixes too. A coffee machine that has slowed to a trickle is often just due for a descale or a rinse rather than an appliance repair, so a quick check of the basics saves an unnecessary call-out.
Step Three: Learn to Spot the Early Warning Signs
Most appliances give you a heads-up long before they die outright, and a good appliance repair checklist includes knowing what those signals sound and look like.
A fridge that runs constantly instead of cycling on and off, a washer that vibrates harder than it used to, an oven that takes longer to reach temperature, or a dishwasher leaving a film on your glasses are all early hints that something is drifting out of spec.
Catching these early is where you save the most money. A worn door seal or a slightly blocked filter is a small job. Left alone, the same fault forces the motor or pump to work harder, and what could have been a quick fix becomes a major appliance repair or a write-off. Smells and sounds are the two senses worth trusting most.
A burning or electrical smell means switching off at once. A new grinding, buzzing, or knocking noise almost always points to a part that is on its way out. Jotting down when a symptom started and how it has changed gives a technician a real head start on the diagnosis.
Step Four: Gather the Details Before You Call
If the simple checks do not solve it, do not just pick up the phone and say “it’s broken.” A few minutes of prep makes any appliance repair faster and cheaper.
Note the brand and model number, usually found on a sticker inside the door, on the back, or under the unit. Write down any error codes on the display and what the machine was doing when it failed.
Take a quick photo if there is a leak or visible damage. A technician armed with this information can often bring the right part on the first visit rather than turning your appliance repair into a second trip.
It also helps to be honest about the machine’s history. If a fault has come and gone before, or if the appliance has been repaired for the same issue in the past, mention it.
A recurring problem points a technician somewhere different than a brand new one, and it can be the deciding factor in whether a further appliance repair is worth the spend or the unit has simply run its course. The more context you can hand over up front, the faster and cheaper the whole thing tends to go.
Step Five: Weigh Up Repair Versus Replace
Not every fault is worth fixing, and not every machine is worth writing off either. Age and the type of fault both matter when you weigh up an appliance repair. A five-year-old washer with a failed pump is almost always worth repairing.
A fifteen-year-old fridge with a dying compressor is a harder call, and while you decide, keep an eye on the temperature, since guidance on safe food storage recommends keeping your fridge below five degrees to avoid spoilage.
For commercial gear the maths is different again, since downtime costs money every day it drags on. If you run a café or small kitchen, a piece on when to service or replace your commercial dishwasher is a useful read, and for bigger equipment there is a clear breakdown of when a commercial oven repair makes sense against a new unit.
The same logic applies to refrigeration, where knowing when to repair its cool room can save a restaurant from pouring money into a unit that is already past saving.
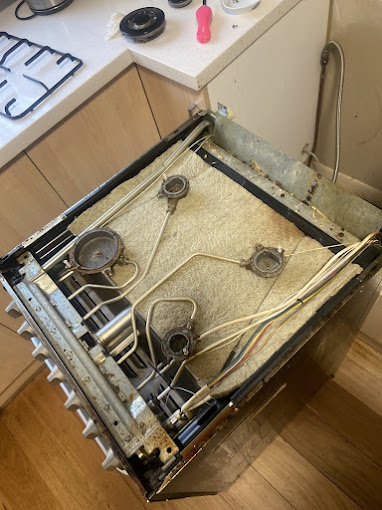
Step Six: Keep a Few Numbers and Records Handy
The final piece of the appliance repair checklist is the least exciting and the most useful. Keep the manuals, receipts, and warranty details for your major appliances somewhere you can find them. Warranties often cover parts for years, and you do not want to pay for something you were entitled to for free.
Alongside that, keep the contact details of an appliance repair service you trust, one that services both gas and electric appliances and gives you a straight answer on cost. Having that ready means the moment something fails, you are not scrambling through search results while water pools on the floor.
A Little Maintenance Prevents Most Faults
The best appliance repair is the one you never need, and a lot of common breakdowns trace back to maintenance that quietly got skipped.
Cleaning the lint filter in your dryer after every load, wiping the door seals on the fridge and washer, and rinsing the dishwasher filter every few weeks all take minutes and head off the faults technicians see most often. Descaling a kettle or coffee machine on a regular schedule stops mineral buildup from choking the works, especially in hard-water areas.
Loading habits matter as much as cleaning. Overloading a washer strains the bearings and the motor, and cramming a dishwasher stops water reaching everything, which people then misread as a fault.
Checking pockets for coins and tissues before a wash is the single easiest way to avoid a blocked pump. Building a couple of these habits into your routine keeps the machines running longer and keeps your appliance repair costs down over the years, which is exactly what a good checklist is for.
Keep this list somewhere accessible, and the next time something stops working, your appliance repair will be a manageable hiccup rather than a household crisis.
Frequently Asked Questions (FAQs)
Q1. What Should I Do the Moment an Appliance Stops Working?
Switch it off and disconnect it where it is safe to do so, especially if there is any leaking, sparking, or burning smell. Running a faulty machine usually makes the damage worse and the eventual appliance repair more expensive.
Q2. How Do I Know If a Fault Is Worth Fixing Myself?
Simple things like clearing a blocked filter, resetting a tripped breaker, or descaling a coffee machine are fair game. Any appliance repair involving internal wiring, a control board, gas, or refrigerant should go to a qualified technician.
Q3. What Information Should I Have Ready Before Calling a Technician?
Have the brand, model number, any error codes, and a short description of what the machine was doing when it failed. A photo of any leak or damage helps too. This often lets the technician arrive with the right part.
Q4. When Is It Better to Replace Rather Than Repair?
It usually comes down to age and the cost of the fix against a new unit. A newer machine with a common fault is worth repairing. An old one facing a major component failure often is not, though a proper assessment gives you a clear answer.
Q5. Do Warranties Really Matter for Older Appliances?
Yes. Many appliances carry multi-year parts warranties, and some components are covered even longer. Keeping your receipts and paperwork handy means you can claim what you are owed instead of paying for an appliance repair unnecessarily.
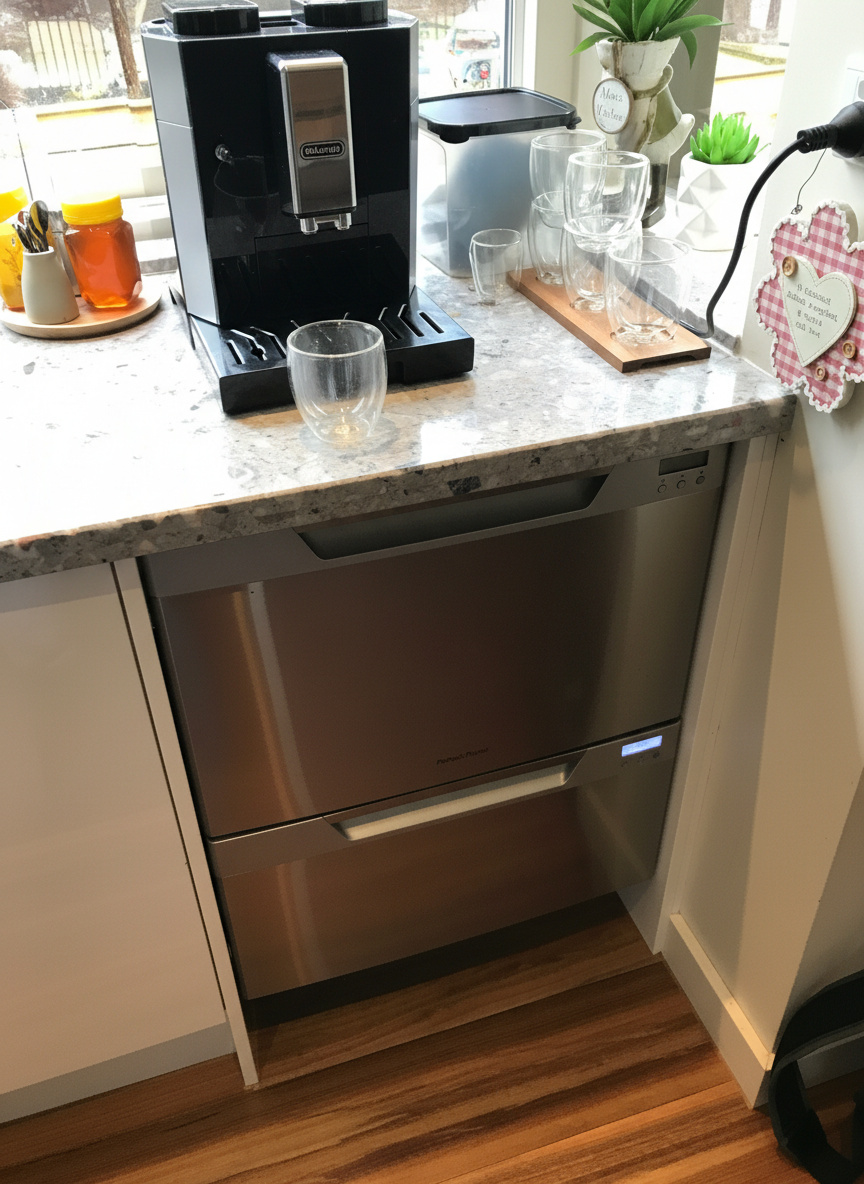

Gas Stove Not Working? Melbourne Repair Guide
Gas stove not working? A Melbourne technician explains the common causes, safe DIY checks you can do yourself, and when to call a licensed professional.
DeLonghi Coffee Machine Repair & Troubleshooting Melbourne
Fix common DeLonghi coffee machine problems, from no water flow to a jammed grinder. Clear troubleshooting steps, plus when to call a Melbourne technician. Your
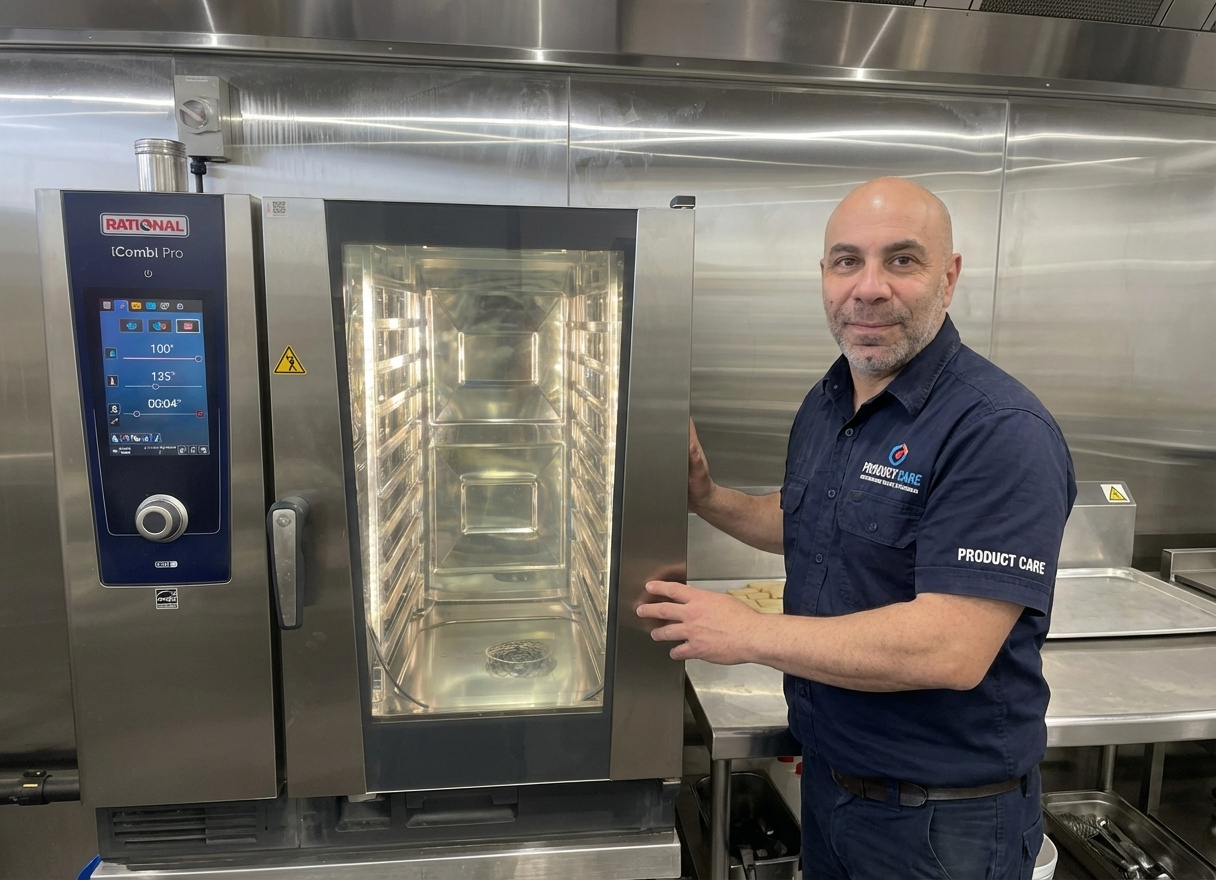
Rational Combi Oven Fault Codes: Meaning & What to Do
Rational combi oven fault codes explained, CPC, SCC and iCombi Pro. Which codes can you clear yourself, which need a tech, and Melbourne repair costs? 

Commercial Fridge Not Cooling? Repair or Replace Melbourne
Commercial fridge not cooling? Learn how to diagnose common faults like dirty coils and use our clear guide to decide whether to repair or replace
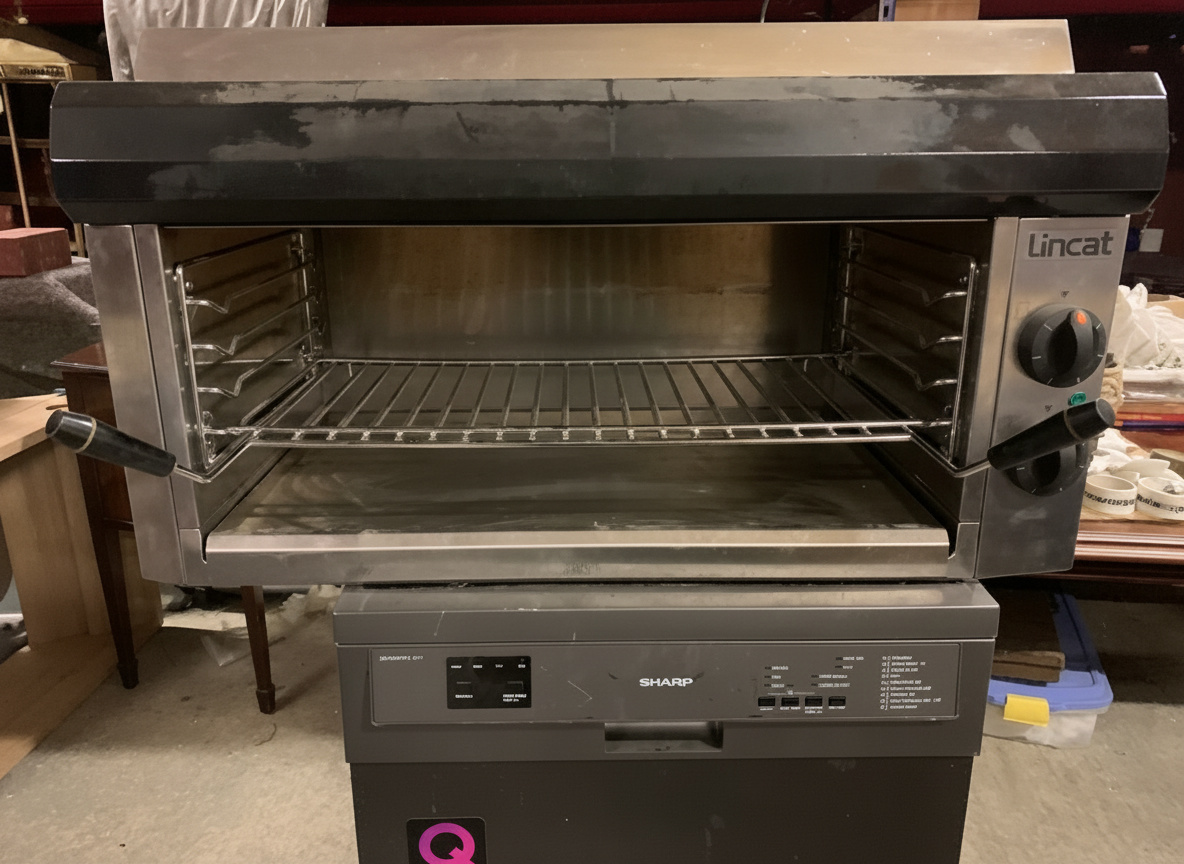
Commercial Oven Repair or Replace? Melbourne Cost Guide
Wondering whether to repair or replace your commercial oven? A Melbourne cost guide covering realistic price ranges, downtime, and when each call makes sense. For
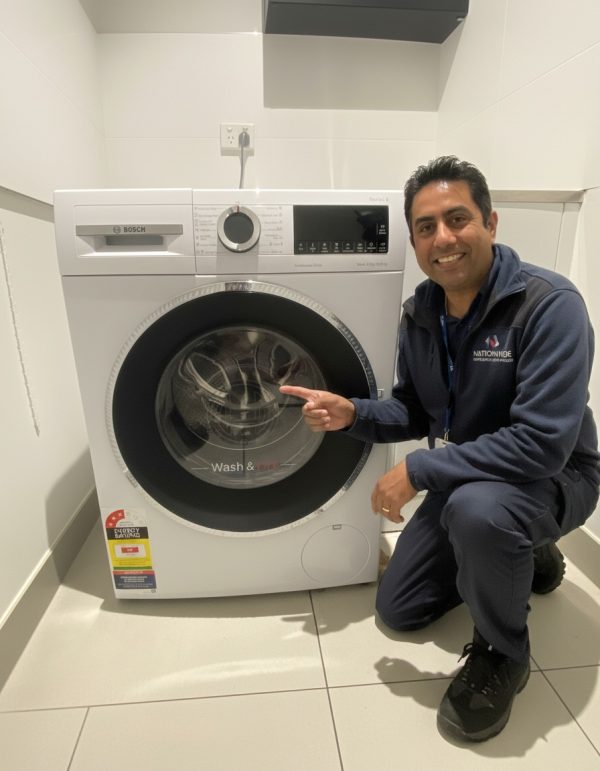
Washing Machine Not Draining? A Guide on How to Fix It
Washing machine not draining? Most faults come down to the filter or hose ÔÇö fix it yourself or book a same-day Melbourne technician. You opened